![]()
Throwing Dagger
![]()
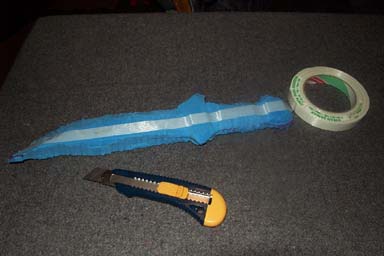
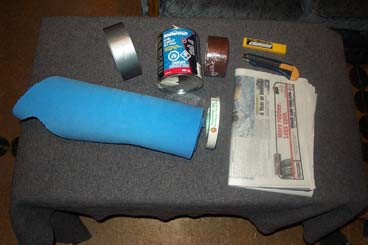 Materials
Needed
Materials
Needed
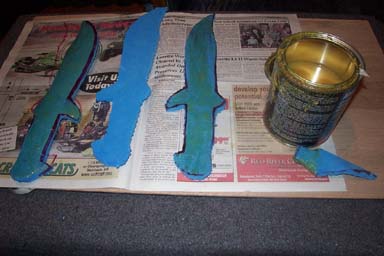
-)Blue Camping Foam
-)Duct Tape
-)Brown Duct Tape (Optional)
-)Fiber Tape
-)Utility Knife
-)Replacement blades
-)News paper
-)Pen or marker
-)Contact cement and brushes
Step 1
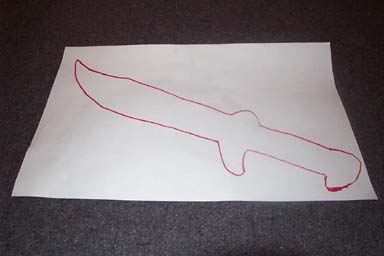 Trace or draw your fullsized dagger on the
newspaper
Trace or draw your fullsized dagger on the
newspaper
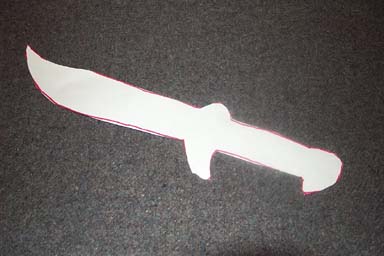
Step 2
Cut out the pattern
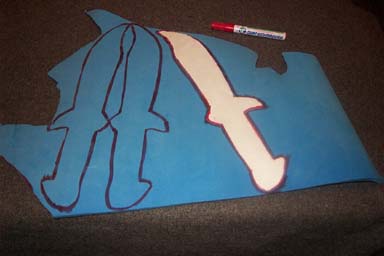 Step
3
Step
3
Trace three daggers onto the blue foam

Step 4
Cut out the three pieces
 Step
5
Step
5
Put glue on the inside of the two outside pieces so the glue will be toward the center.

Step 6
Sandwich the pieces together
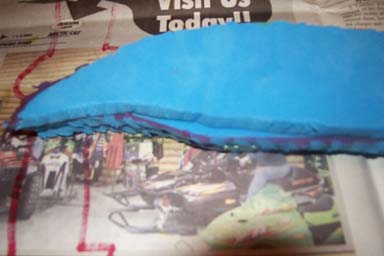
Note:
Don't worry too much about the edges some pieces will end up bigger then others just make sure every thing is as close as possible, the excess will be shaved off.
Step 7
Place something big and heavy on it to squish it down, let dry for an hour or so
Step 8
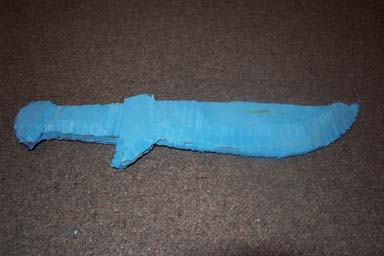
Carve foam to get the look you want
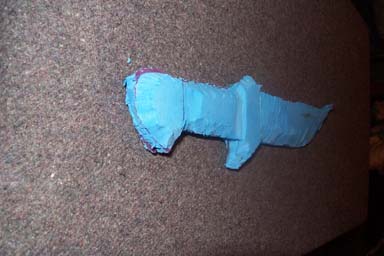
Now is when you fix up the uneven edges
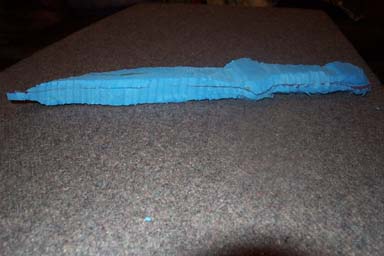
Step 9
Begin putting fiber tape on lengthwise to add strength. cover entire dagger
Step 10
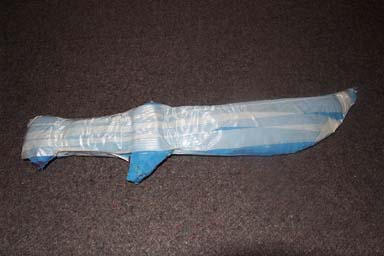
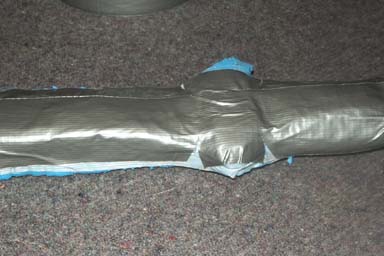
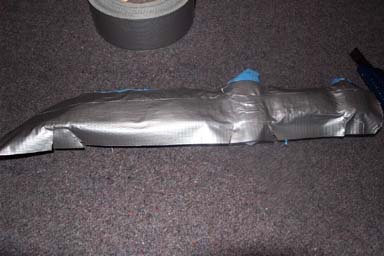
Place duct tape lengthwise to cover dagger. It is put on length wise because it gives it a smoother look and is less likely to rip.
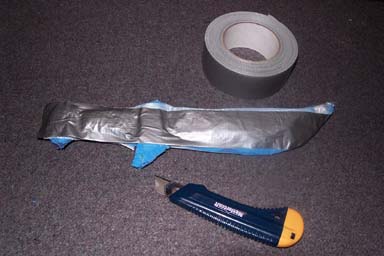
To get around curves and such score the tape that looks like it will ripple, then rub it on.

Step 11
Put brown duct tape for handle or wrap in leather or cloth
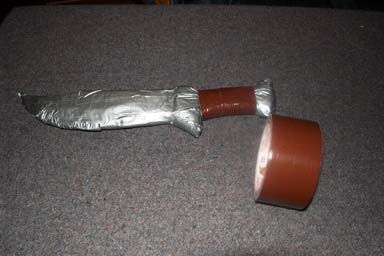
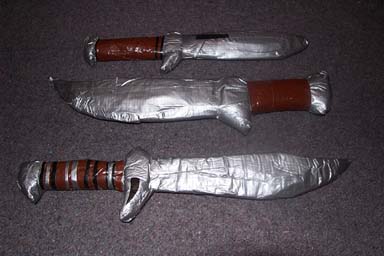
All done!
![]()